Quick start
Getting set up with Haskell is very easy, here is the recommended route:
Step 1 (installation)
Run the Haskell installer, GHCup, using the instructions on that page.
To check that this was successful, enter the comand ghci into your terminal. This will open a Haskell REPL where you can execute Haskell code (much like in Python). To exit GHCi, type :q at the prompt.
Step 2 (make a project)
The REPL is useful for evaluating simple expressions and in-project debugging, but we recommend setting up a project as a first step to learning Haskell.
In a new directory of your choice, create a new Haskell project by running:
or if you prefer, clone the repository from these very docs, which is itself a Haskell project.
This will create a file ending in the suffix .cabal, which is where you will specify package requirements and other build details. For instance:
cabal-version:      2.4
name:               haskell-book
version:            0.1.0.0
maintainer:         reubenharry@gmail.com

extra-source-files:
    CHANGELOG.md
    README.md

library
    exposed-modules:  MyLib

    build-depends:
        base ^>=4.16.3.0,
        text
    hs-source-dirs:   src
    default-language: Haskell2010

executable haskell-book
    main-is:          Main.hs
    build-depends:
        base ^>=4.16.3.0,
        haskell-book

    hs-source-dirs:   app
    default-language: Haskell2010
This package contains both a library and an executable. To run the functions in the library, first enter the Haskell REPL from the root of the project directory (where the .cabal file is):
And then do:
To build and run the executable:
You can also build the executable without running it, which is useful for checking if you have compile errors or warnings:
Because the haskell-book section of the cabal file gives a source directory of app and a main source file of Main.hs, this will run the variable called main in app/Main.hs.
Step 3 (set up the Haskell Language Server)
We highly recommend using the Haskell Language Server. This is an IDE which runs in VSCode (and other platforms).
In VSCode, activate it by installing the Haskell extension:
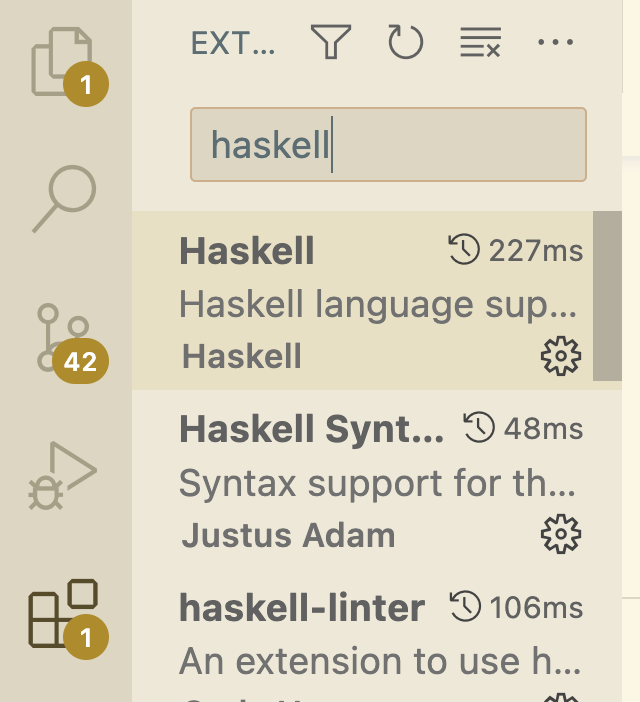
This will make learning Haskell much smoother, by continuously checking your program, underlining type errors, showing inferred types by mouse-over, adding type signatures automatically, adding language extensions and imports when needed, and linting and formatting.
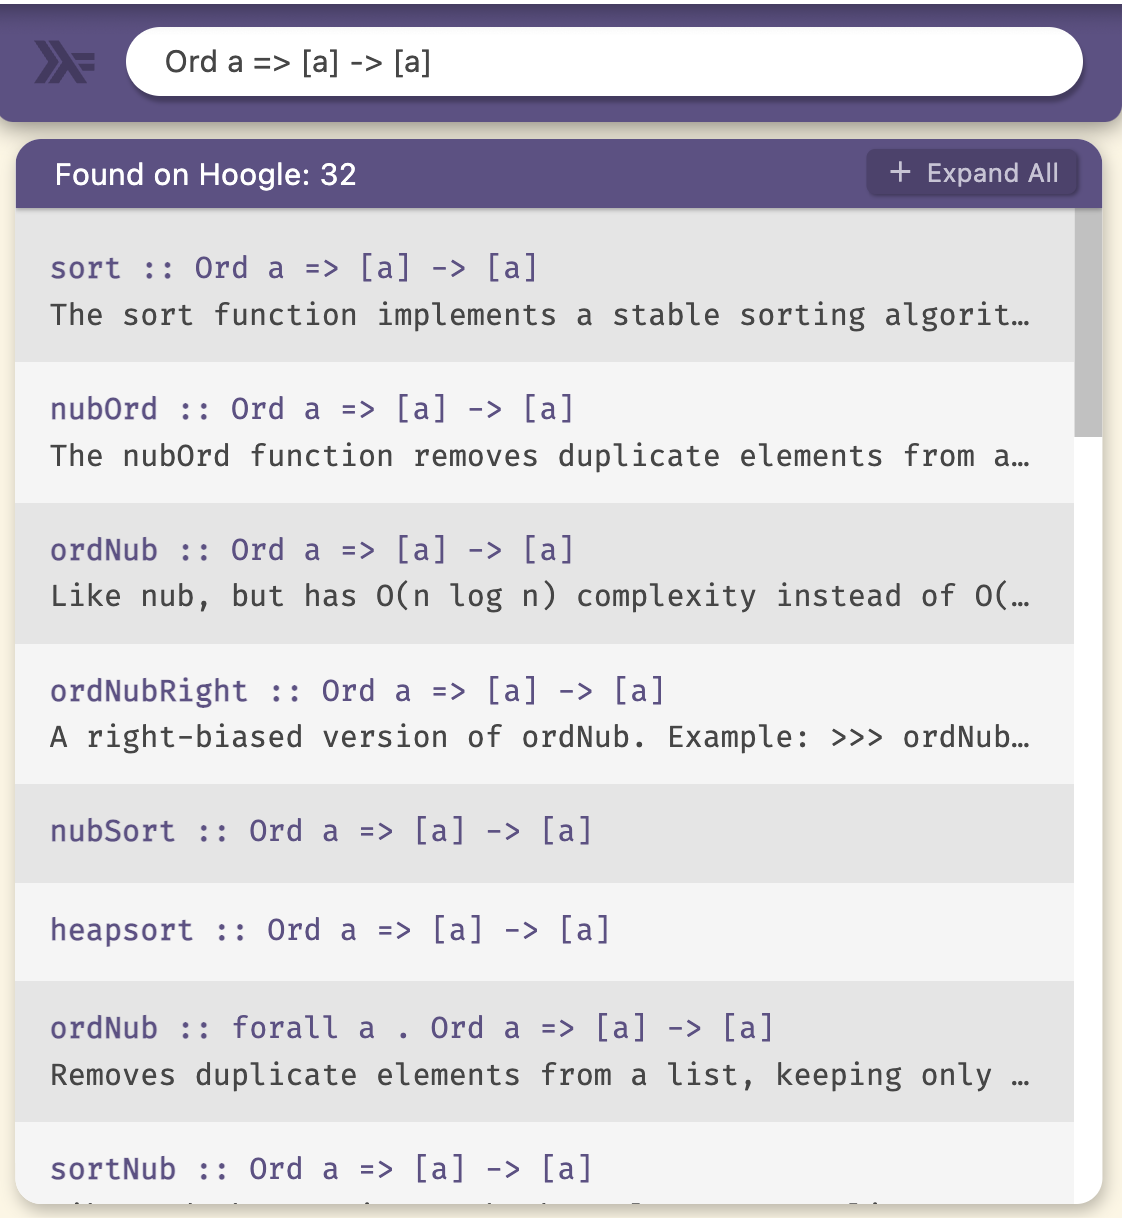
Step 4 (Hoogle)
Hoogle is a search engine for Haskell, where you can look up by type. This is accessible at this site, but we recommend installing the hoogle-vscode extension.
Open with Option h, and use like so: